The Idea
Lifealert systems are extremely useful devices. The most common design consists of a base station which is placed somewhere in the house and a small pendant which can be worn at all times. The pendant includes a small button which, upon being pressed, sends a signal to the base station which then calls for help on your behalf.
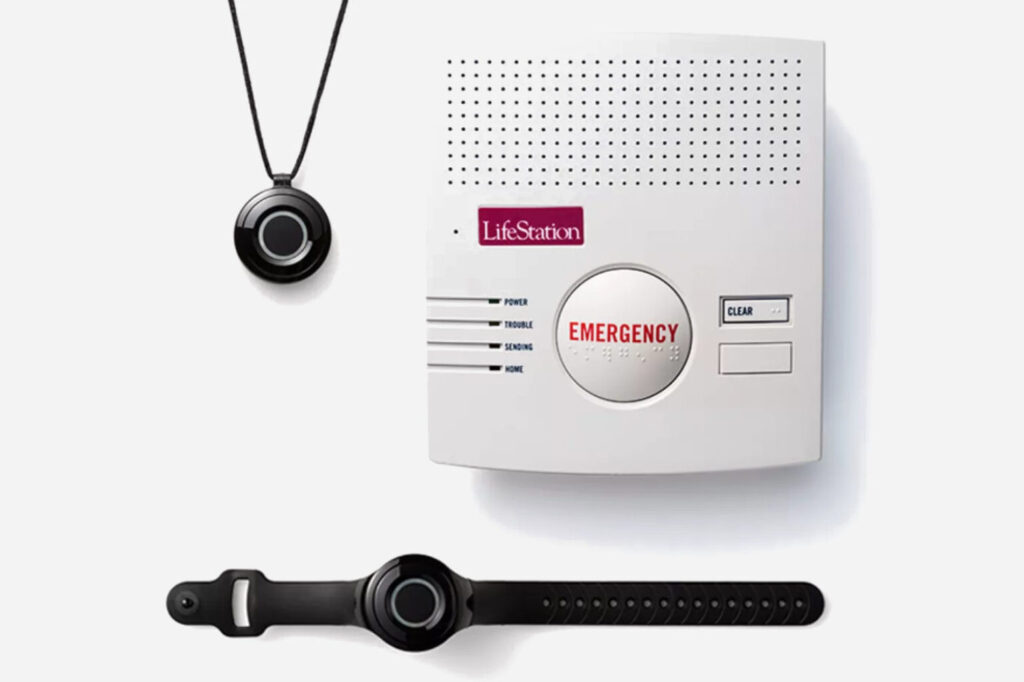
Falling is the most significant cause of injury for the elderly, and a life alert system can be life saving if such is to happen. While a phone can be used, the pendant is made to be worn at all times such as in the shower – a place where people can slip and somewhere you usually wouldn’t take your phone.
One day my grandmother was outside her home when she suffered a fall, with no phone on hand, which fractured her wrist. She was unable to call for help or get up on her own. Luckily, someone found her in that state and got her the help she needed. However, it could have been a lot worse.
While looking into potentially recommending such a system for her, I was surprised to find that these aren’t available in Pakistan! The cheapest one I could find was 34,000 Pakistani rupees and was imported from the U.S.A, which meant that the subscription based device wouldn’t even work here…
That’s when I decided to make my own.
Testing & Prototyping
I don’t intend to sell the device or anything. It’s just a proof of concept, so I’m fine with it not looking as refined or sleek as a professionally made product with injection molded casings, PCBs, etc..
The goals were quite simple. Make a life alert system which is easy to use, reliable, and make it as cheap as possible. And it has to work anywhere in Pakistan.
Notifying The Emergency Contacts
The most important part was figuring out a way to notify people if the user is having an emergency. Life alert systems sold abroad have their own call centers which call emergency services and family members for the user, but that’s completely out of the scope of this project. I thought about using a WiFi connection to ring an app on the emergency contact’s phones but that would defeat the rule of keeping it simple. I then figured I could use some online service to send calls to the contacts through a WiFi connection. However I realized: why am I even bothering with WiFi being the middle-man? Just call them directly!
Not only are mobile networks more reliable than a home WiFi connection, the whole system would only require a spare SIM card with some money being inserted. With modern smartphones, you can set specific contacts to have specific ringtones (so you can make it a loud alarm) and to have it bypass Do Not Disturb mode, which the emergency contacts can do when saving the life alert system’s contact in their phones.
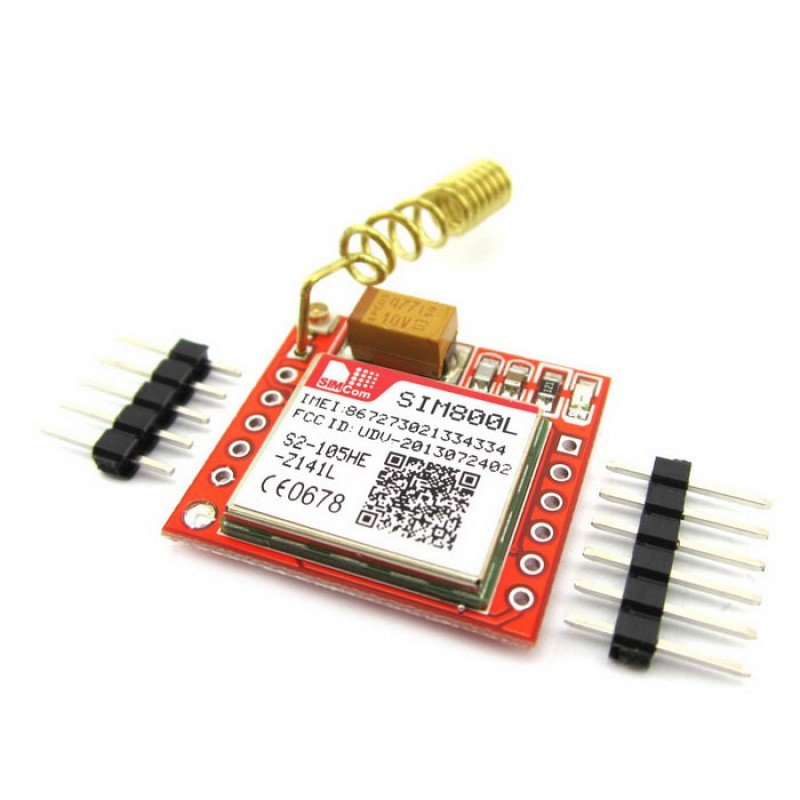
In the end I went with the SIM800L module for the base station as it was relatively inexpensive (compared to others), small and worked with the ESP32 I was using.
Sending The Emergency Distress Signal
The pendant has to be small and lightweight so that the user doesn’t notice it when wearing it. I needed a way to send out the emergency signal which is both small in size yet strong enough so that the signal can reach the base station, which may be located anywhere in the house.
I tested different types of senders and receivers, including 433 MHz radio and LoRa modules, however what I went with in the end was the ESP-NOW protocol. It’s essentially 2.4 GHz WiFi using the ESP boards but the data transfer protocol is optimized to prioritize distance over speed (atleast that’s what I know, I’m going into engineering and not computer science for a reason!). Not only was the signal range amazing, I was already using the ESP-32 board for the base station, so I didn’t need any extra receiver components.
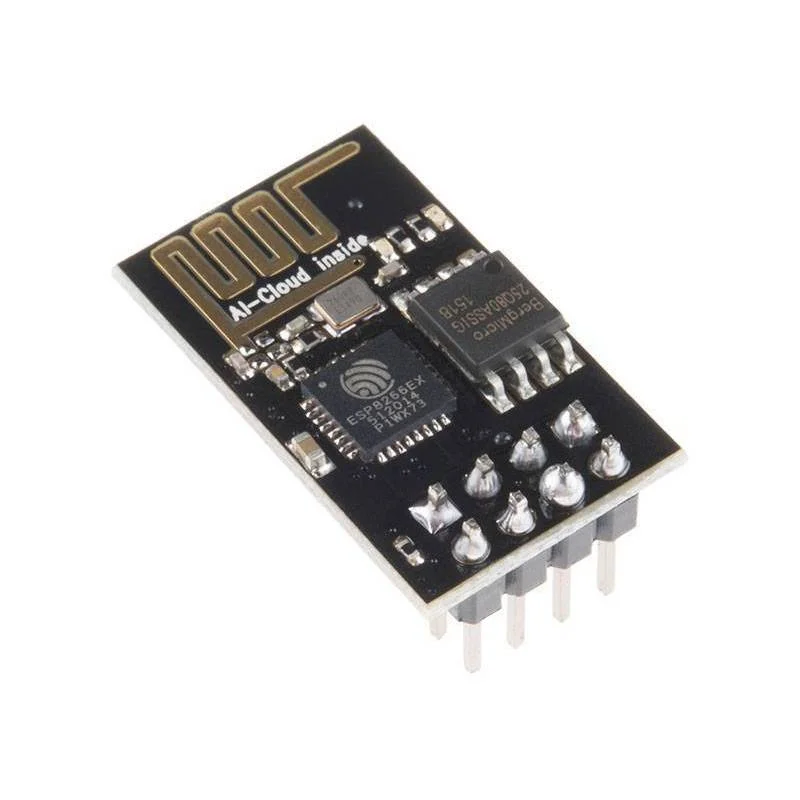
I went with the ESP-01 board for the pendant as it was small, had a good antenna, was ESP-NOW compatible, and could be programmed to have a unique signal code to not interfere with any other life alert systems.
Configuring The Base Station
The base station uses an ESP-32 microcontroller as the “brain” of the system. It has WiFi and Bluetooth capability and is relatively powerful. I used the onboard flash memory of it to store settings and emergency contact numbers, however a way to configure these was required.
This was probably the most time consuming part of prototyping and took weeks to figure out. My initial attempts to develop an app which could connect to the base station via WiFi or Bluetooth were a failure due to connection issues and other problems. I also tried using the SIM module inside to be able to configure it via SMS messages, however either due to the module being unreliable in receiving messages or errors in my programming, I was never able to properly get settings to be received and saved.
That’s why my next idea strictly followed the initial goals. No apps with wireless connections. No SMS configuring which would only work half the time. Simple and reliable hardware. I’ve been using Arduinos with LCD displays since I was 12, so that’s what I went with.
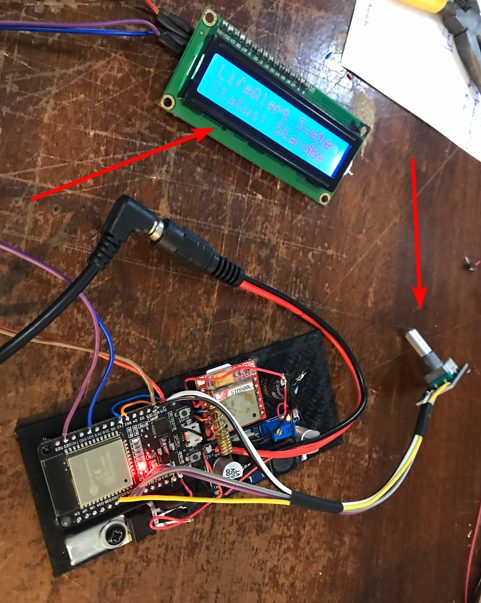
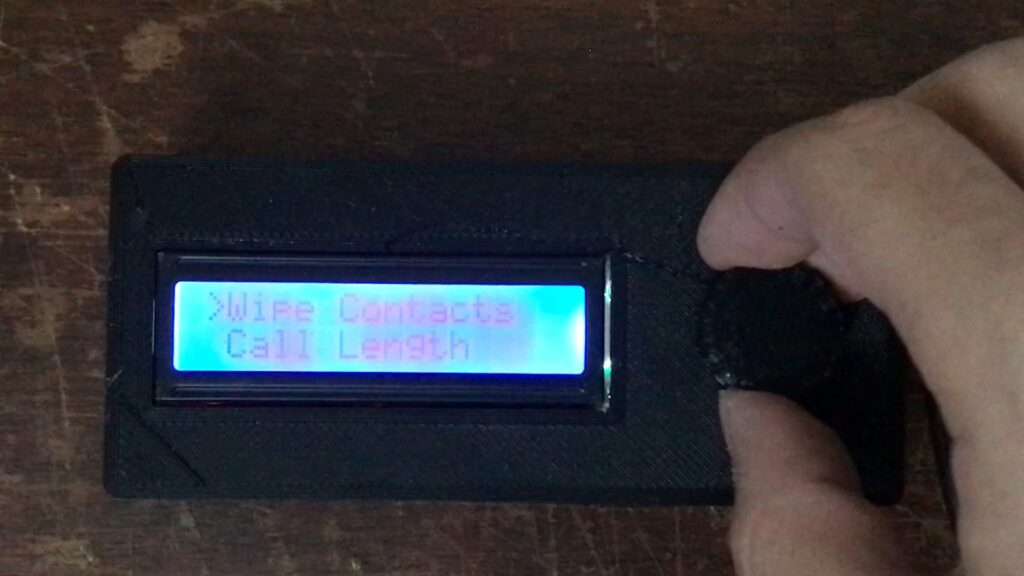
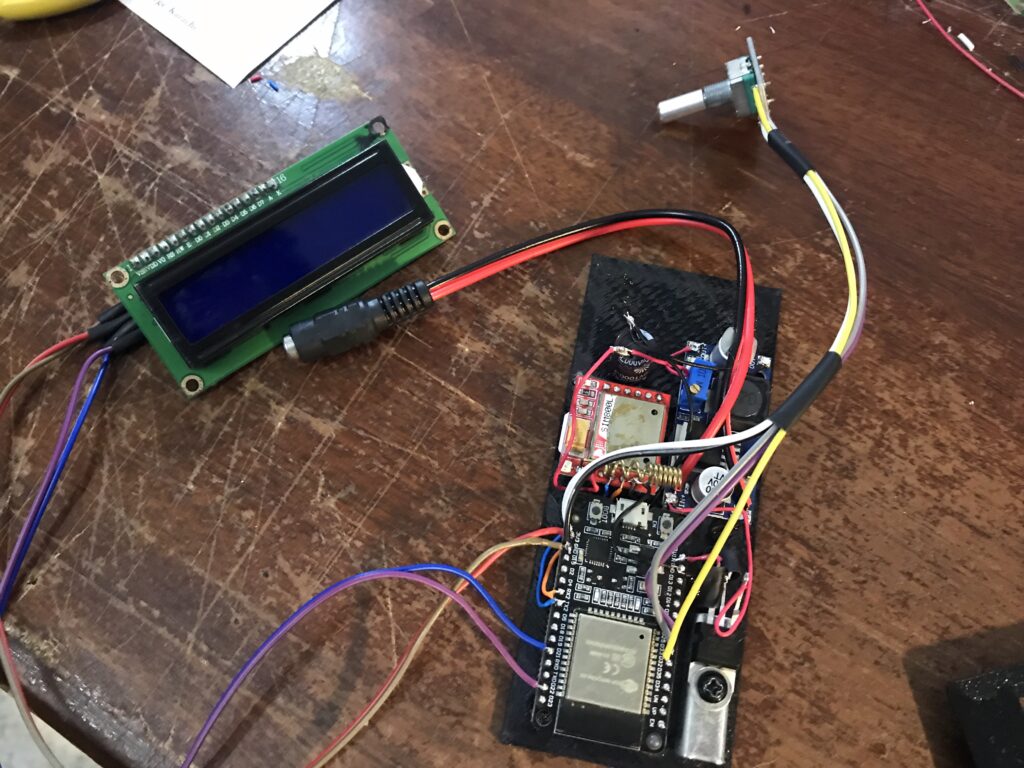
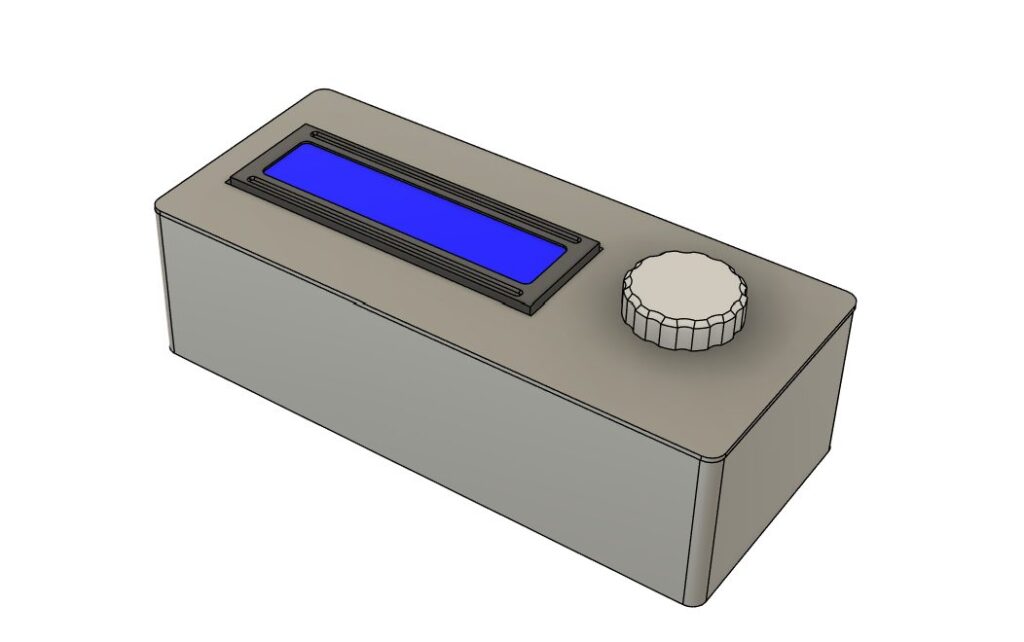
Two arrows highlight the LCD display which shows information and the rotary encoder which can be rotated to scroll through various settings and selected by pushing it in. A knob would later be added on top to make it easier to handle.
Assembling Everything & Troubleshooting
With the parts selected, it was time to assemble and wire everything together. However it wasn’t as straight forward as it seems. I went through multiple iterations of the device before reaching the final product. These are shown below along with photos of the building process.
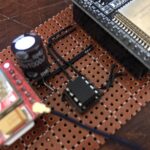
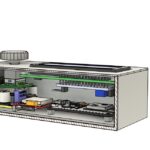
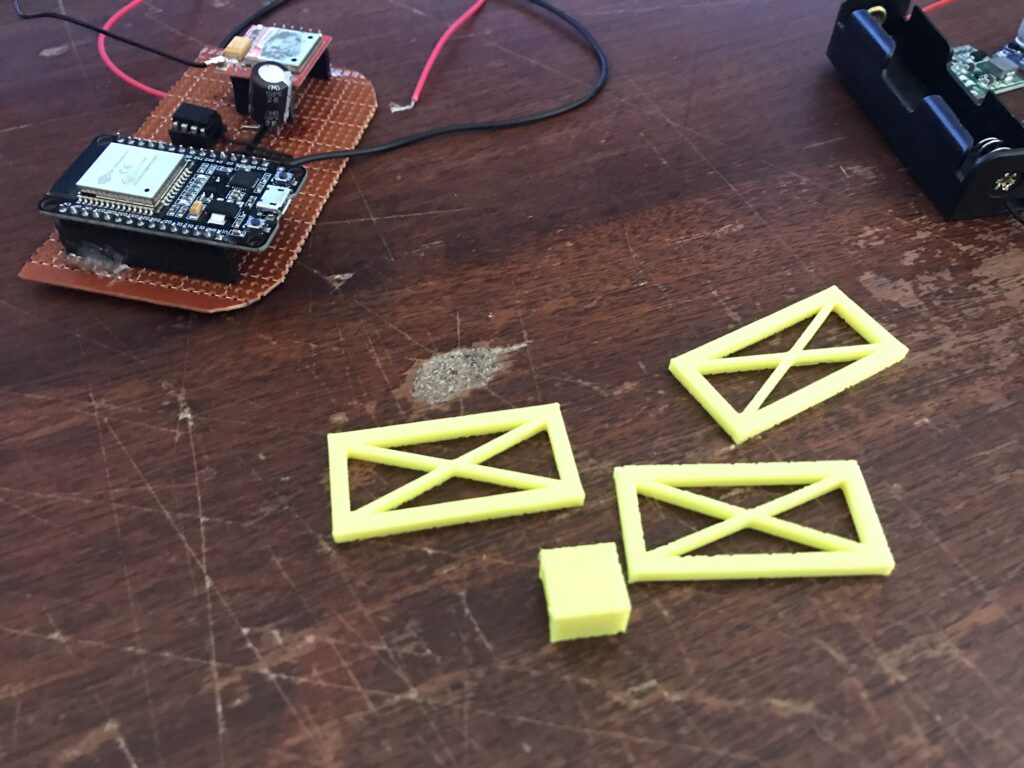
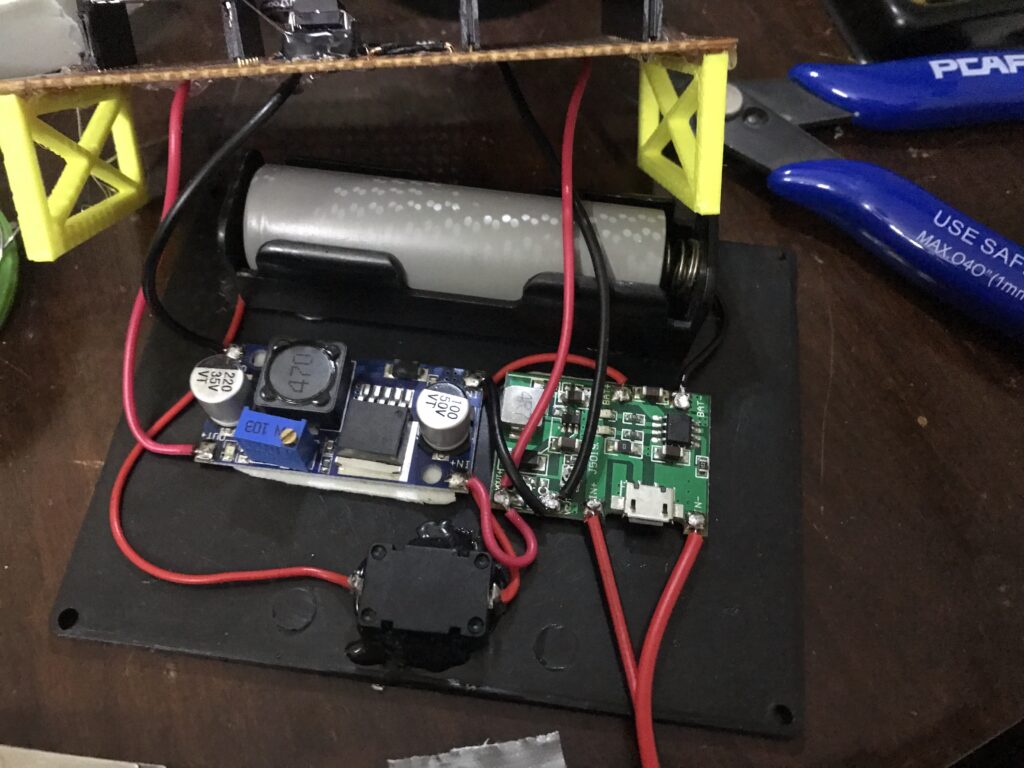
Shown on the left is the first assembled prototype. The main components were soldered onto a perfboard and suspended using 3D printed parts, with the entire thing going into a plastic box. This design used SMS messages for the configuration which later failed, so it was scrapped.
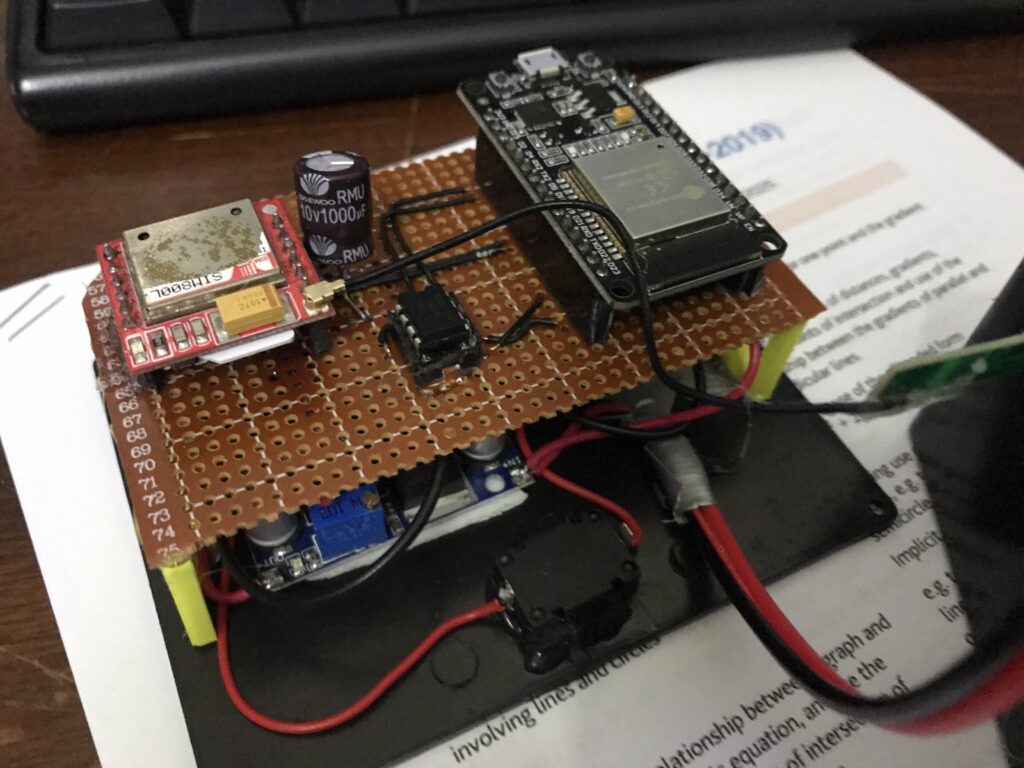
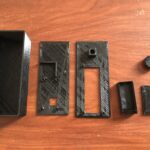
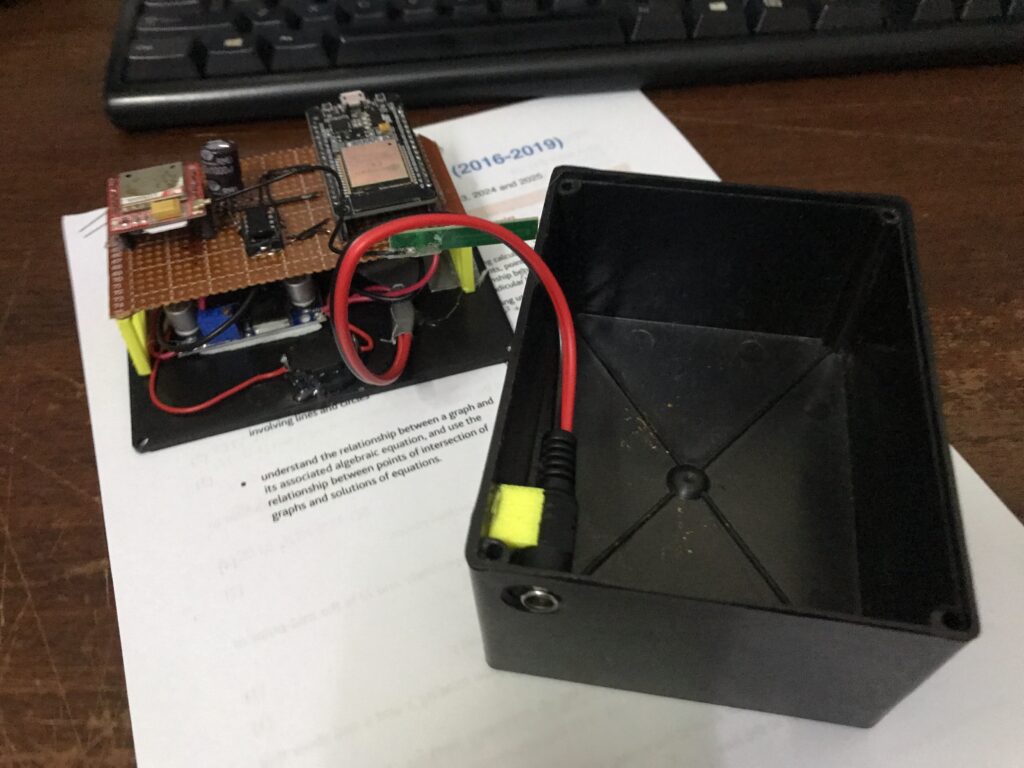
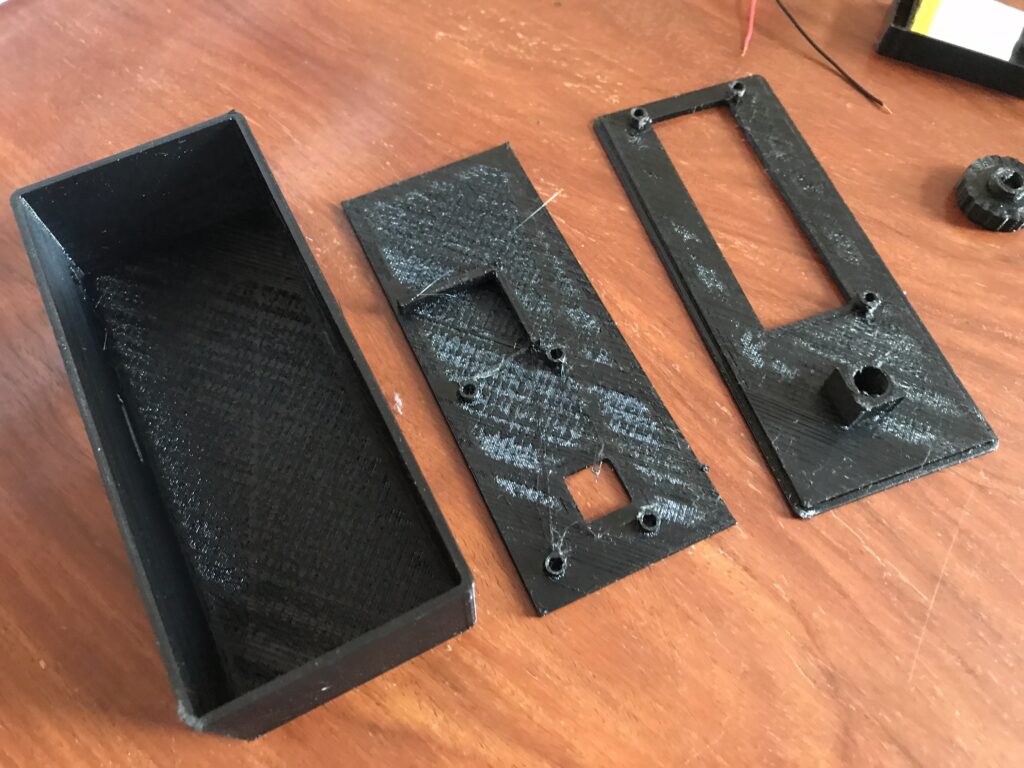
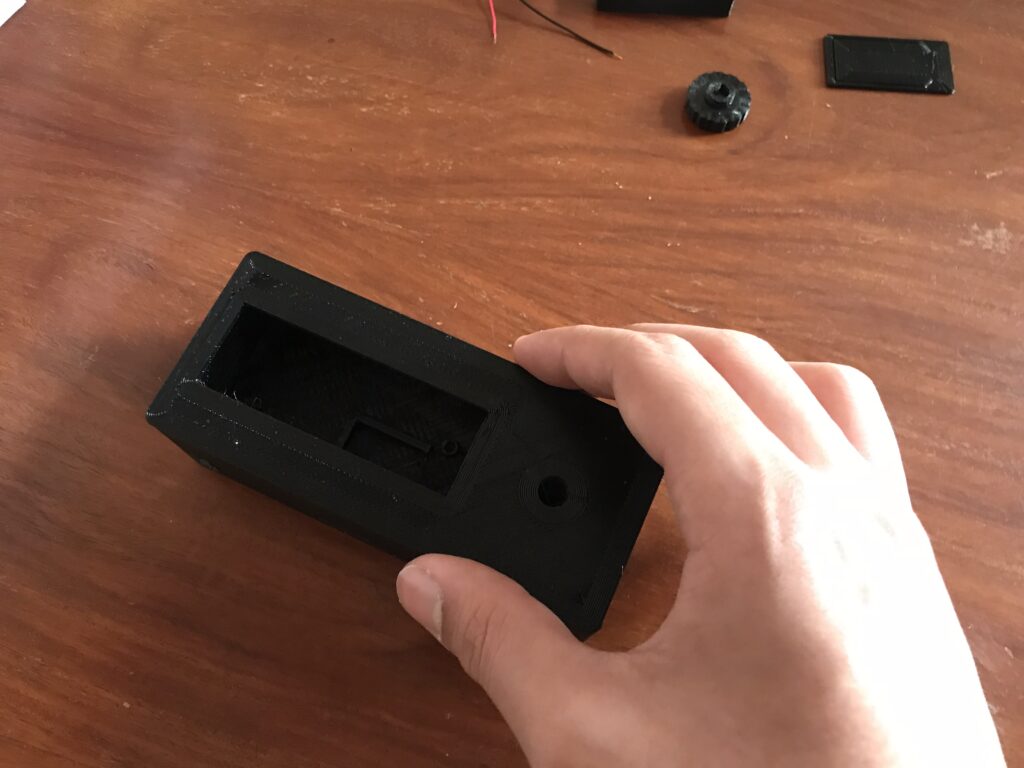
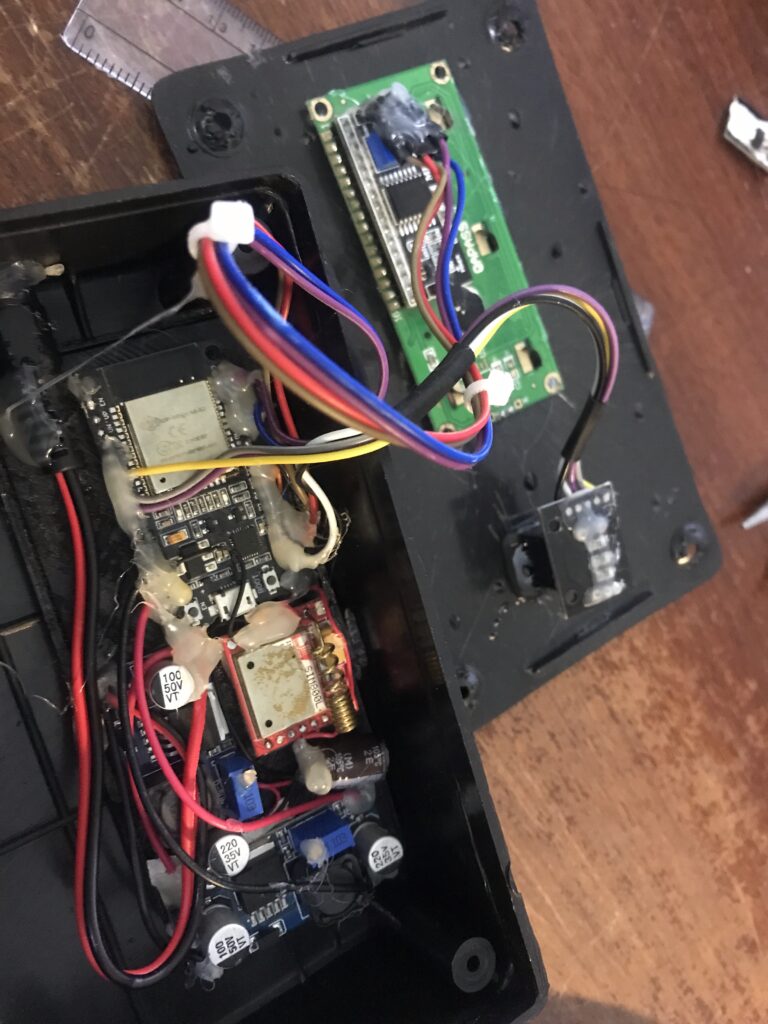
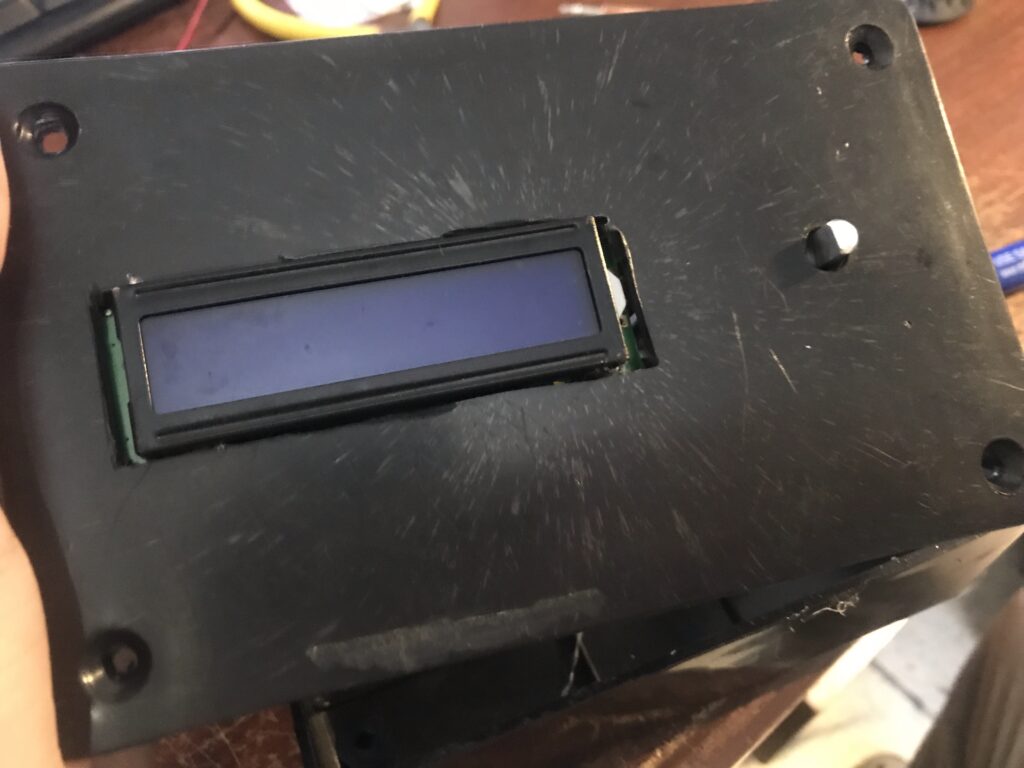
This is the design I am the most proud of and… it failed. It utilized a sleek 3D printed body in black PETG filament. The components are assembled onto a small board which neatly and perfectly fit into the box, offering a compact design.
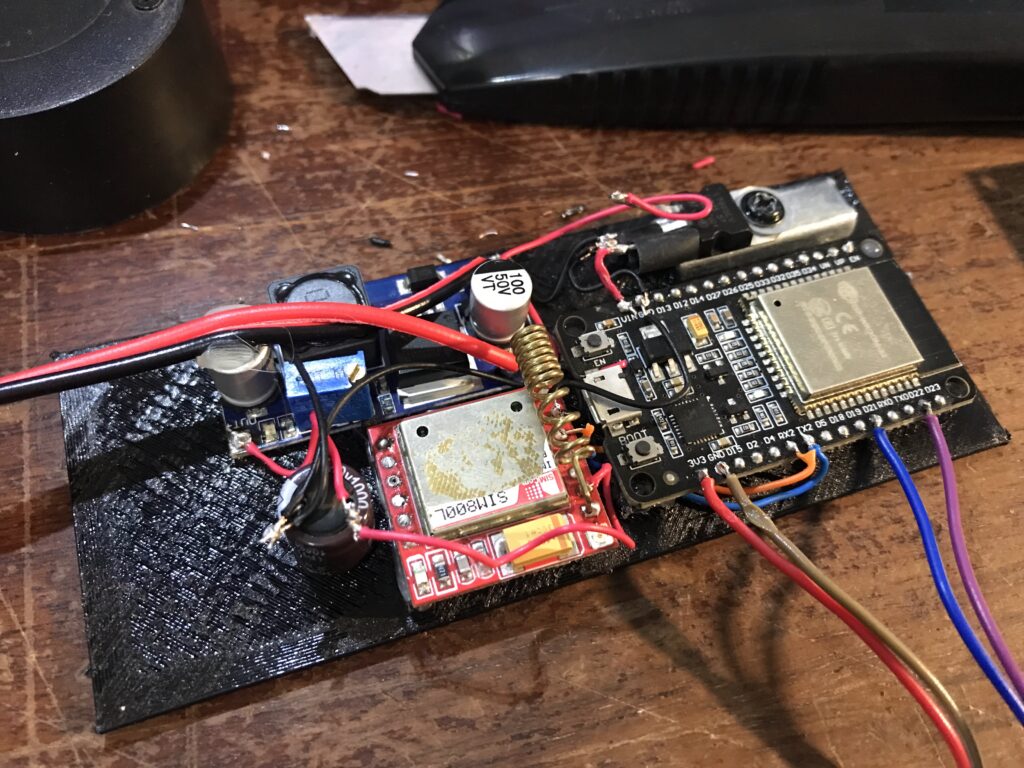
However the small size came with a fatal flaw. Since I wasn’t using a custom PCB and had loose wires connecting the LCD to the ESP-32, the wires would come too close to the SIM800L module’s antenna, causing electrical interferance and making the whole device restart whenever the calling sequence was initiated. The worst part is that I had tested the entire thing out of the box, and it was only after everything was assembled that the issue came up (due to the wires being squished close to the antenna in the compact box and not before when testing out in the open).
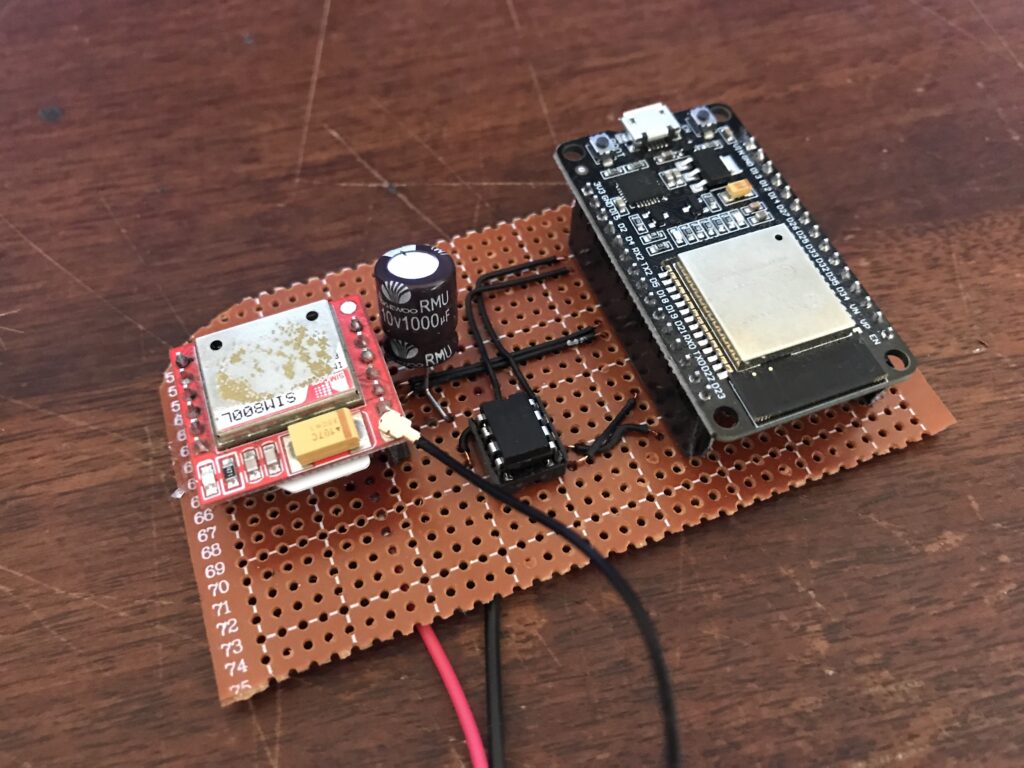
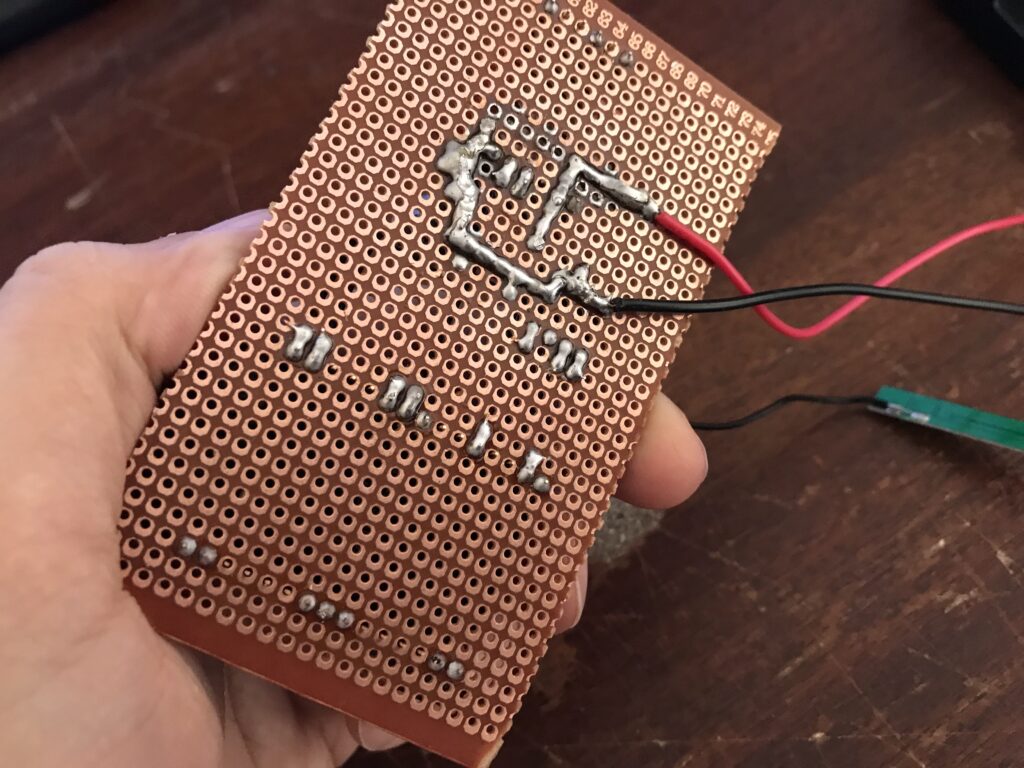
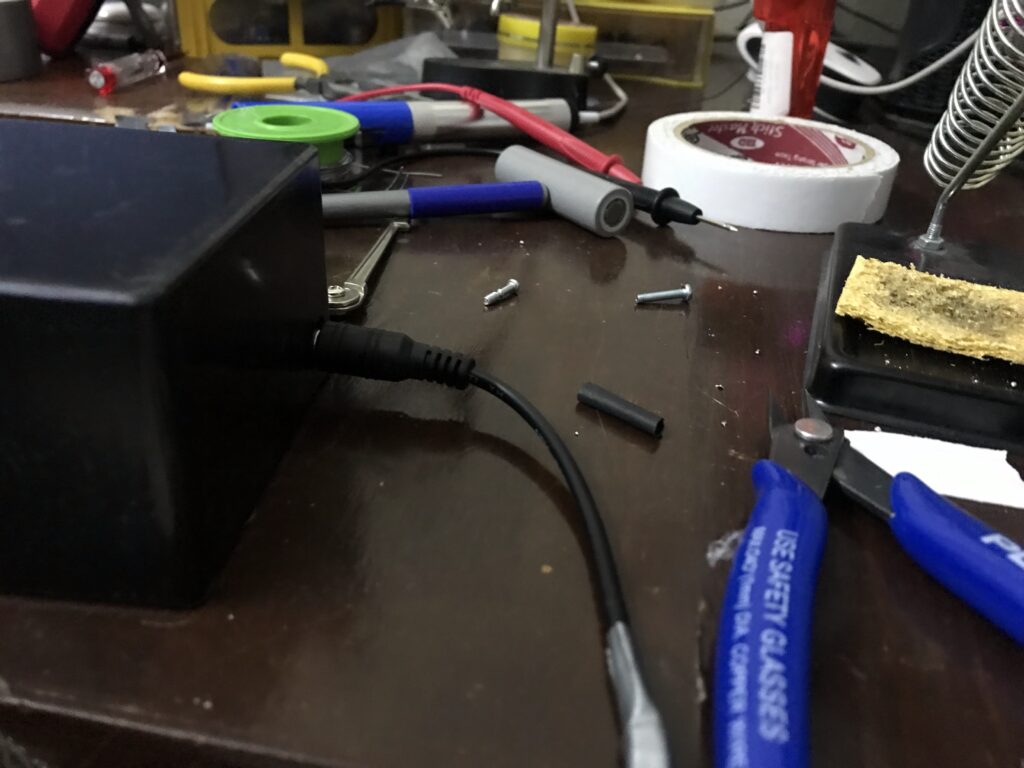
It’s also the design which I have the most images of during the design and assembly process. Take a look!

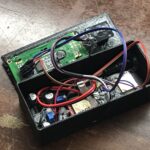
The final design used a larger electronics enclosure box I had on hand. It’s not as nice as the 3D printed enclosure as it has marks from poor quality injection molding on it.. but it’ll suffice. The main thing is the base station actually working.
The final base station design uses an ESP-32 microcontroller as the main board and as the receiver for the pendant. The SIM800L module is used to call the emergency contacts when the distress signal is received. Since both boards take different input voltages, two LM296 modules (which I already had) are included to step down the input voltage from 12V from the wall adapter to 3.3V and 4.2V respectively. A 16×2 LCD and a rotary encoder are mounted to the front panel for menu navigation and configuration.

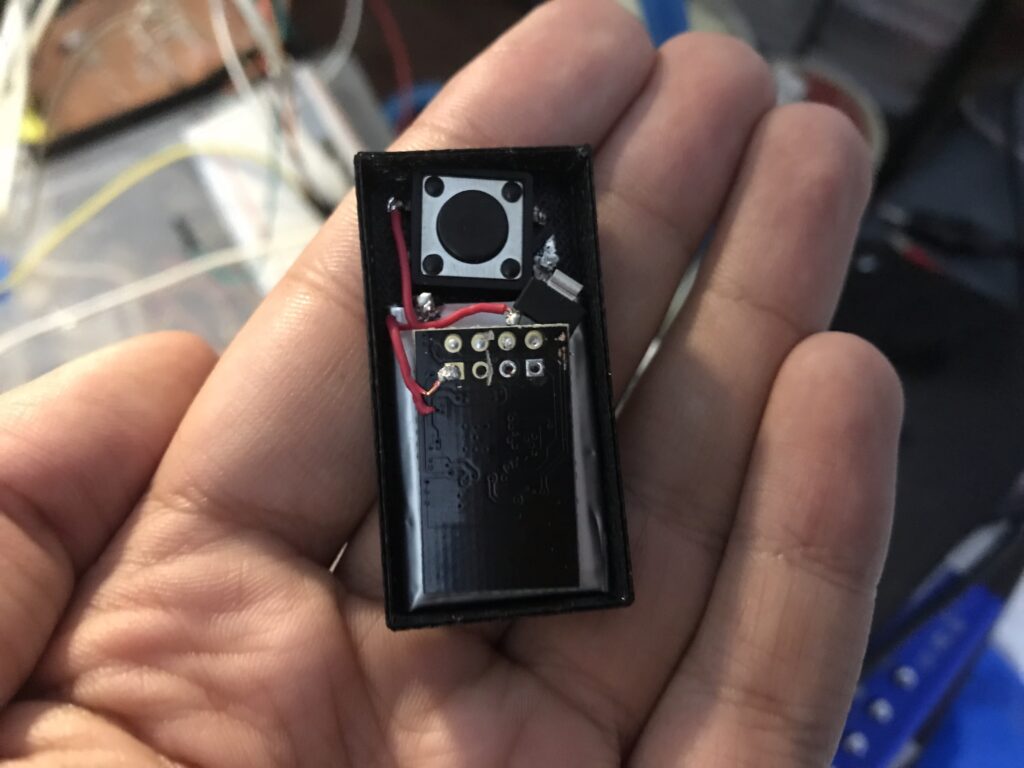
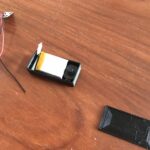
The pendant consists of an ESP-01 board (which sends the signal), a button, a 3.3V voltage regulator and a small LiPo battery. Everything is sealed in a plastic bag for waterproofing and then glued into a 3D printed case.
Using The Life Alert System
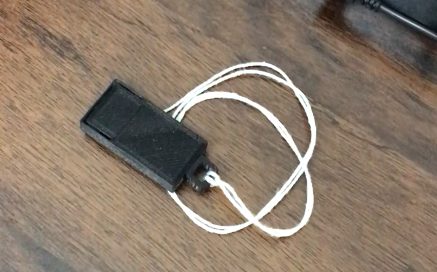
The pendant is designed to be worn around the neck at all times, which is why it being lightweight and small was a priority. In fact it’s smaller than those which come with commercially available systems. The button is part of the case so it can’t be accidentally pressed by bumping it. To activate the emergency system, the button needs to be pressed and held down for more than one second.
Due to 3D printing and size constraints, I was not able to design a water proof removable battery enclosure, so it is not rechargable. This means that the battery life of the system is determined by the LiPo battery’s natural discharge over time, and I estimate it’ll last around 1.5 to 2 years before needing a replacement which would cost 300 rupees to make.
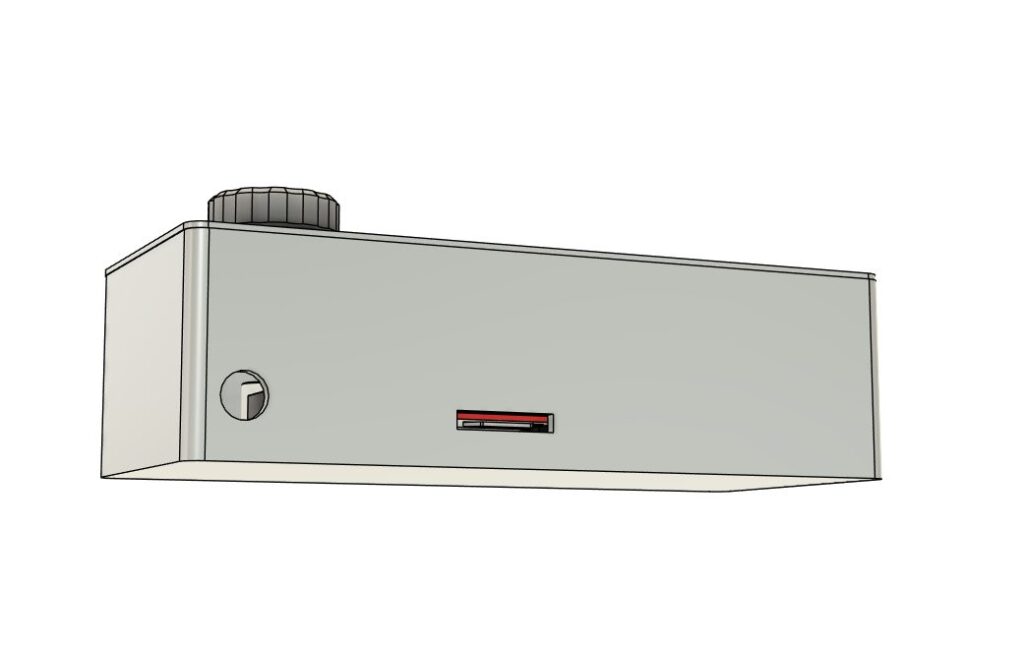
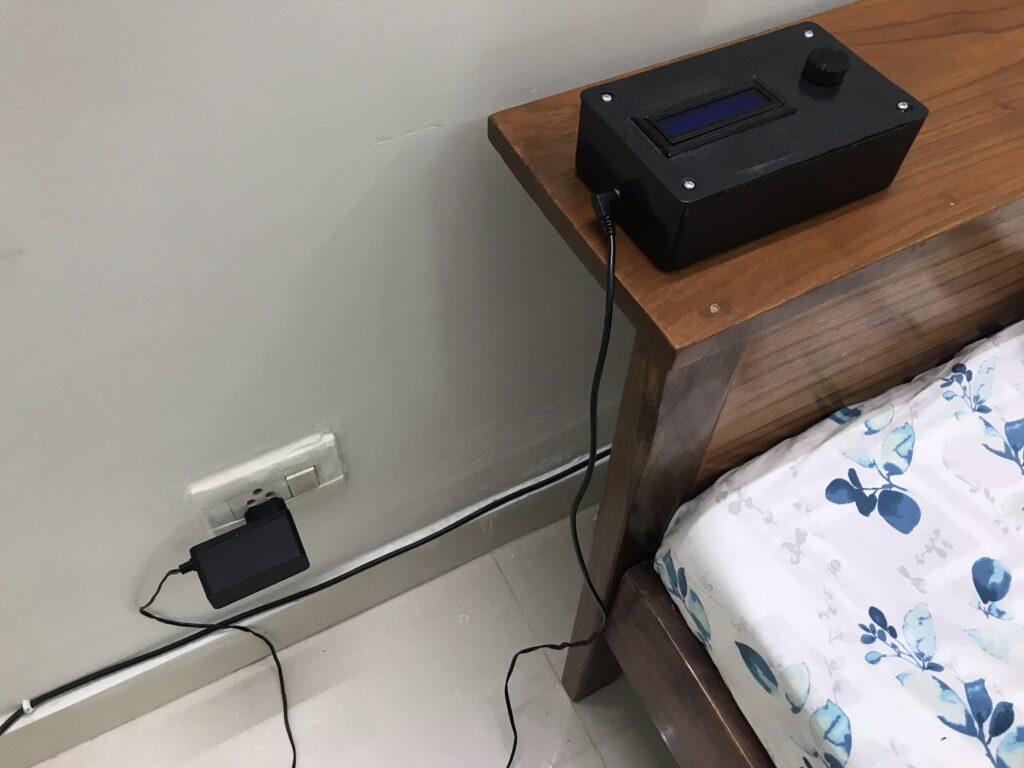
The base station can be placed anywhere in the house close to an outlet. It uses a simple 12V wall adapter as the power source. Here it is shown above my bed:
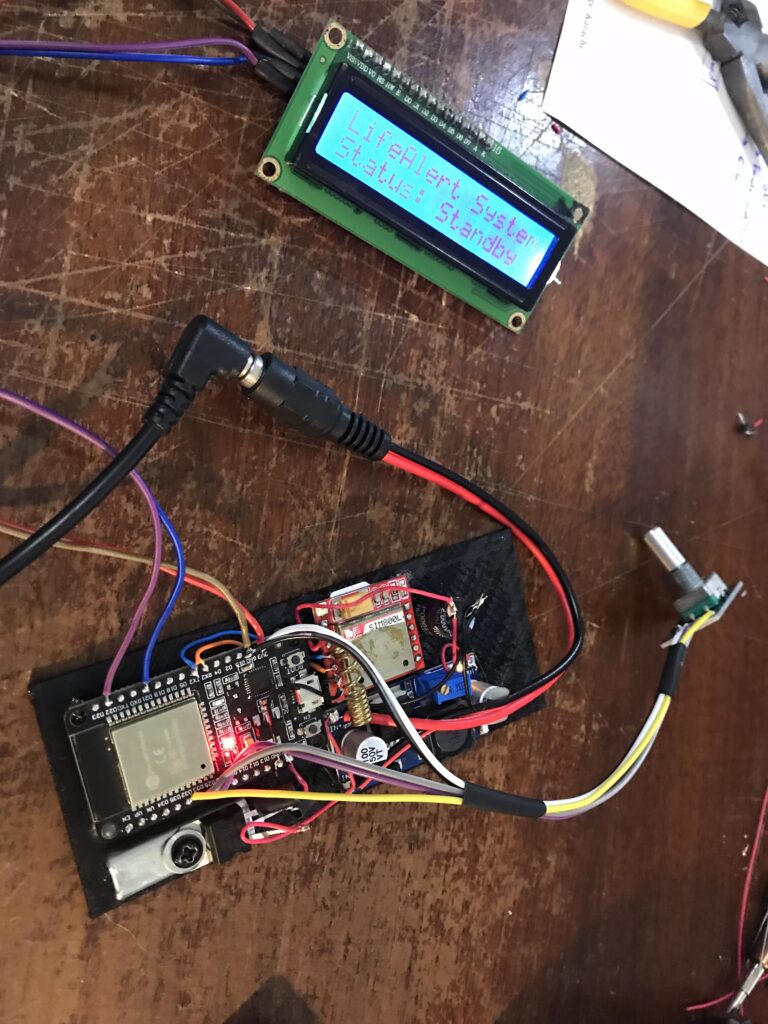
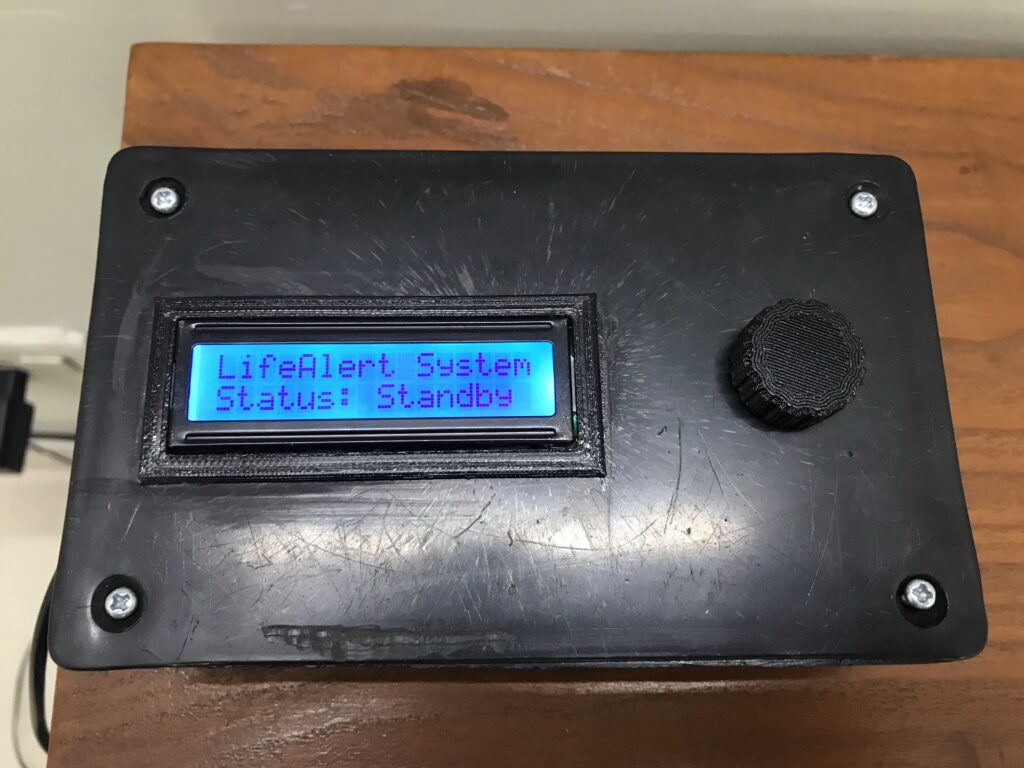
The front panel has a small LCD display to show info and a knob used to configure the system. The display turns itself off after 30 seconds of inactivity and any movement of the knob turns it back on.
Accessing the menu is used by pressing the knob in (like a button). A short press stands for “OK” while a long press is for “BACK”. Rotating the knob can be used to scroll through menus or selections.
The main menu consists of multiple options:
- Contact List (where phone numbers can be viewed and changed).
- Wipe Contacts (erase the phone number list).
- Call Length (change the number of seconds it rings a contact before moving onto the next one in the list).
- Test System (test the calling system without using the pendant).
- Model Info (shows the code version and my name).
A contact can be set by entering the Contact List and inserting a new number by using the knob to select individual digits and then saving it by clicking on the “S” option.
When the pendant is pressed, the base station receives the signal and starts the calling process. It calls each phone number in the contact list for the number of seconds set in the “Call Length” setting, and then moves onto the next phone number. Once all the phone numbers in the list have been called, it shows “Finished” in the status.
And that concludes the up to date history of the Life Alert project! I intend to introduce some updates and try out new things (such as pendant charging) however I have other projects I wish to complete first before doing so.
This has been a great project for me and I learned a lot during it, including 3D CAD, wireless systems, using new modules, doing a LOT of C++ coding, ways to go about fixing problems and troubleshooting, and so much more! Perhaps this could be something a company could imitate and use to design a commercially available Life Alert device product which works here in Pakistan.
Thanks for reading!